T1-11 Siding in Chicagoland: Sealing the Grooves That Rot First
Category
T1-11 siding almost never fails across the whole panel at once. It fails at the bottom edge, at the horizontal joints, and down in the grooves, because plywood soaks up water through its edges. Seal those spots properly and coat the grooves, not just the flat face, and T1-11 can hold up in Chicagoland for decades.
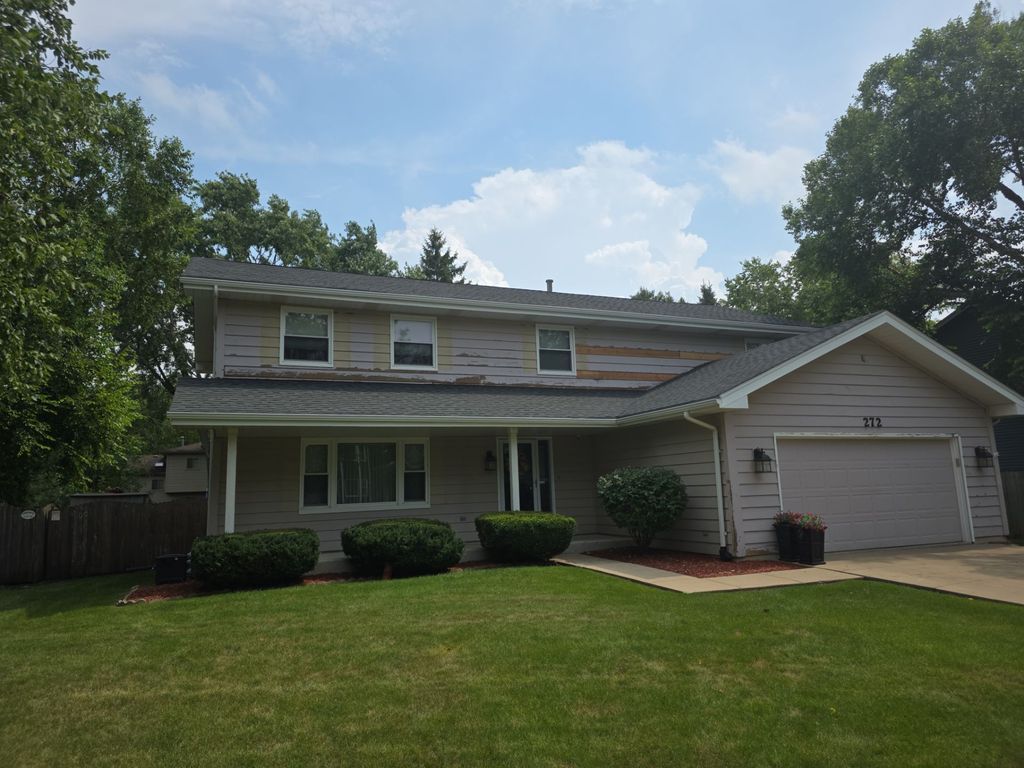
If you have a ranch, a 1970s addition or a detached garage anywhere in the Chicago suburbs, there's a good chance some of it is sided with T1-11. It's the plywood panel with the vertical grooves. It went up fast and cheap, and it looks good when it's kept up. Kept up is the catch.
What T1-11 Actually Is
T1-11 is plywood siding: layers of wood veneer glued into a panel, usually 4 feet wide and 8 or 9 feet tall, with grooves cut into the face. According to APA, the engineered wood trade association, the standard pattern has grooves a quarter inch deep and three-eighths wide, spaced 4 or 8 inches apart, with ship-lapped edges so panels overlap.
Because it's structural plywood, T1-11 is often nailed straight to the studs with no separate sheathing behind it. That makes it cheap to install. It also means that when a panel fails, there isn't much between the weather and your wall framing.
Why the Grooves and Edges Go First
The face of a plywood panel sheds water fairly well. The edges don't. Water gets into the end grain of the veneers and travels along the glue lines, and when those layers swell and dry over and over, they start to separate. That's delamination, and it's the classic T1-11 failure.
On a typical Chicagoland house we see it in the same four places:
- The bottom edge of each panel. Rain runs down the face and hangs at the bottom. If that edge sits close to mulch or a patio, it stays wet for days.
- Horizontal joints on two-story walls, where one panel sits above another and water pools on the flashing.
- The bottoms of the grooves. Grooves are cut into the veneer, so they expose inner layers. They also collect dirt and hold moisture, and a quick paint job tends to bridge over them instead of filling them.
- Around windows and trim , where caulk has shrunk and opened up.
Add a Chicago winter to that. Water that soaks into those edges in November freezes, expands and pries at the layers, then thaws and does it again. By spring the damage is visible.
How to Check Your T1-11
Start at the bottom. Look for panel edges that have flared out, split into visible layers or turned dark and soft. Press a screwdriver into the lowest few inches. Firm wood pushes back. Rotted plywood gives.
Then look at the grooves on the sunniest and shadiest walls. Peeling that starts in the grooves, or green and black growth inside them, tells you water is sitting where the finish is thinnest.
A few damaged sections is normal on older T1-11. Whole walls of delaminated panels usually mean replacement.
What a Lasting T1-11 Coating Job Looks Like
Plenty of T1-11 homes get repainted every 5 to 7 years and never get ahead of the problem, because each paint job goes on the flat face and skips the places where the siding actually fails. Doing it right means:
- Replacing delaminated sections and sealing all the edges of any new material, including cut edges, which APA says should be resealed.
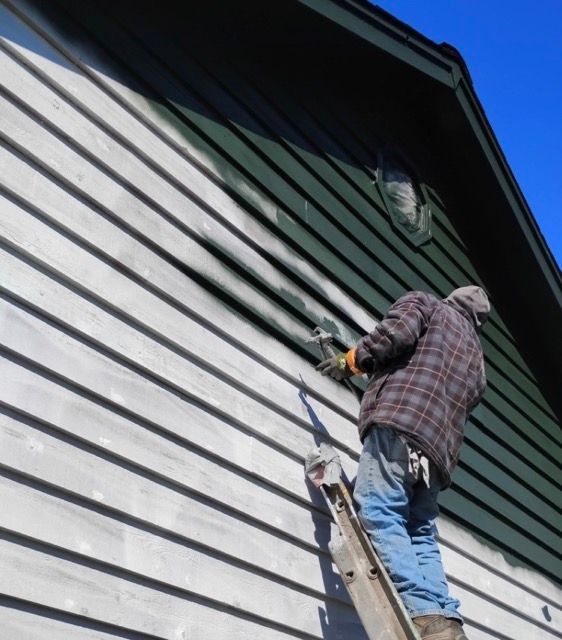
- Sealing the bottom edges directly , not just painting down to them.
- Working the coating into every groove so the film is continuous from one side to the other.
- Flexible caulk at trim and horizontal joints, so they can move without opening up.
- Clearance at grade , pulling mulch and soil back from the bottom edge.
This is where film thickness earns its keep. The Rhino Shield ceramic topcoat goes on at eight to ten times the thickness of conventional paint and stays flexible as the wood moves. It's applied as a multi-coat system over a primer matched to wood, which is what builds a continuous membrane down into the grooves instead of a thin skin across the tops of them. It also reflects more than 90% of UV radiation, which slows the surface breakdown that sun-facing T1-11 walls suffer every summer.
The full specification is on our T1-11 exterior coating page. If your home mixes T1-11 with cedar or other wood siding, which is common on additions, our cedar and wood coating page covers the rest.
Coat, Repair or Replace?
Here's the honest version:
- Coat when the panels are firm, the damage is limited to a few edges and joints, and the wall behind is dry.
- Repair and coat when some panels or sections are delaminated but most of the house is sound. This is the most common situation we find.
- Replace when delamination runs across whole walls or the framing behind the panels is wet.
If you land in the first two groups, coating ends the repaint cycle and comes with a 25-year transferable warranty. We're glad to walk your siding and tell you which group you're in.
(630) 984-4440 | Request a free estimate online