A Day on a Rhino Shield Job Site: From Pressure Wash to Final Coat
Category
Most of what makes an exterior coating last happens before any color goes on the wall. A Rhino Shield job in Chicagoland runs through inspection, a thorough wash, repairs, scraping, elastomeric caulk, masking and priming before the ceramic finish is applied in multiple coats. Then comes detail work, cleanup, and a final walkthrough with you.
Homeowners tend to picture a painting job as ladders and rollers. That part is real, but it's maybe a third of the work. Here's what the rest looks like, in the order it happens.
Before Day One: The Inspection
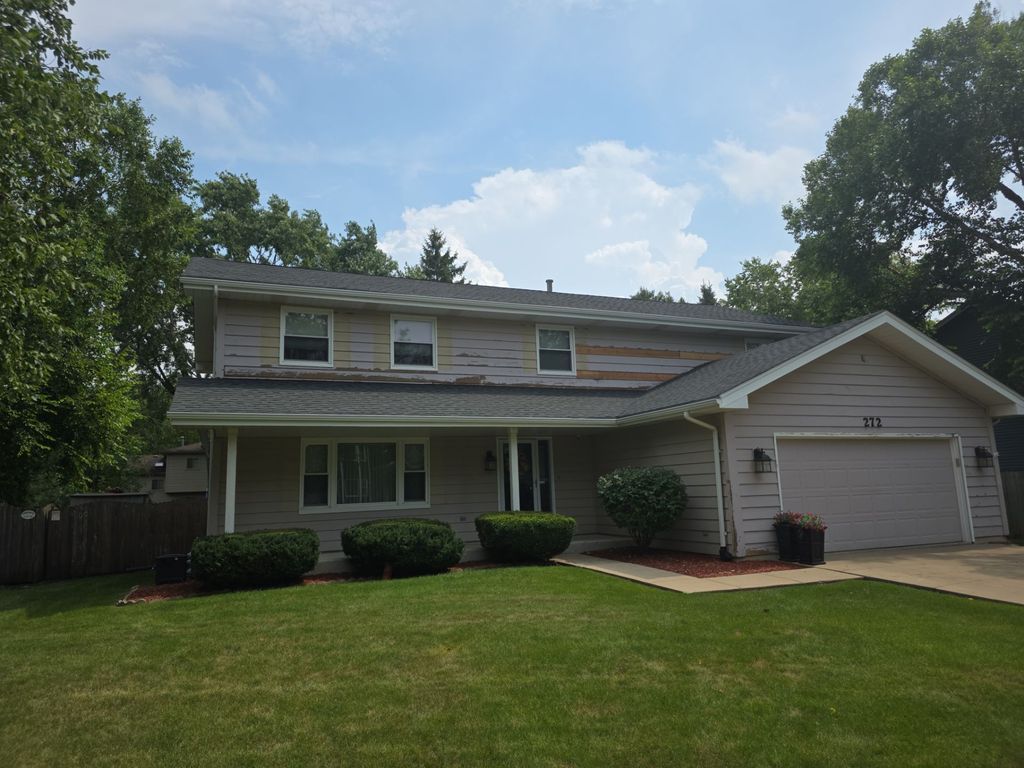
Every job starts with someone walking the house and deciding whether it's ready to coat at all. That means looking at the siding, trim, soffits and any masonry for soft wood, cracked stucco, loose boards and old caulk that's given up.
It's also where the plan gets built: how many days, how big a crew, which elevations get done first based on sun and weather. If something needs repair before coating, this is when you hear about it, not halfway through the job.
Morning One: The Wash
Crews usually start with a pressure wash. The goal is a surface that's clean, dry and free of dust, oils, mildew, algae and chalk. That last one catches people off guard. Wipe your hand across twenty-year-old siding and you'll often come away with white or colored powder. That's chalk, the old finish breaking down, and a coating applied over it sticks to the powder instead of the house.
The wash is also the first real look at what's underneath. Water finds the soft spots, and loose paint that looked fine an hour ago starts to lift. Then the house has to dry before anything else touches it, which is one reason Chicagoland jobs are scheduled around the forecast.
Repairs, Scraping and Caulk
Next comes the unglamorous middle of the job.
- Patching and repair. Damaged wood gets replaced, stucco cracks get repaired, and anything that won't hold a coating gets fixed.
- Scraping. On wood homes, any paint that comes off easily gets sanded or scraped away so the primer reaches a sound surface.
- Caulking. Small cracks and the seams around doors, windows and trim get filled with an acrylic elastomeric caulk.
The caulk choice is worth a sentence. Silicone is common and it's a poor partner for coatings, since most won't bond to it. Elastomeric acrylic stays flexible as joints move through the seasons and gives the coating something to grab. We've written more about why an exterior coating is only as good as what goes on first.
Masking: Protecting Everything That Isn't Getting Coated
Before primer comes out, the crew masks, covers or temporarily removes everything that isn't part of the job. Windows, doors, light fixtures, house numbers, walkways, and the plants and shrubs along the foundation all get protected.
On older homes there's another layer to this. Houses built before 1978 may have lead-based paint in the older layers, and disturbing it by scraping or sanding is regulated. The EPA's Renovation, Repair and Painting rule sets out how that work has to be contained and cleaned up. It's a fair question to ask any contractor quoting a pre-1978 home.
Primer, Then the Multi-Coat Finish
Primer seals the surface and acts as the bonding layer for everything above it. The product is chosen for the substrate: what works on cedar isn't what goes on brick or stucco.
Then the ceramic finish goes on in multiple coats, at a high film build of about 100 square feet per gallon. For comparison, conventional exterior paint is typically spread much thinner. That's how the Rhino Shield system ends up eight to ten times thicker than standard paint once it's cured, and it's why it isn't described as "one coat" of anything. It's a system, built in layers.
You'll notice the difference in how the crew moves. Coverage rates are specified and checked, and the pace is set by the film thickness, not by how fast a wall can be made to look the right color.
Detail Work, Cleanup and the Walkthrough
Once the main coats are on, crews go back over the high-detail areas: trim edges, corners, around fixtures, and anywhere the masking line needs a clean finish.
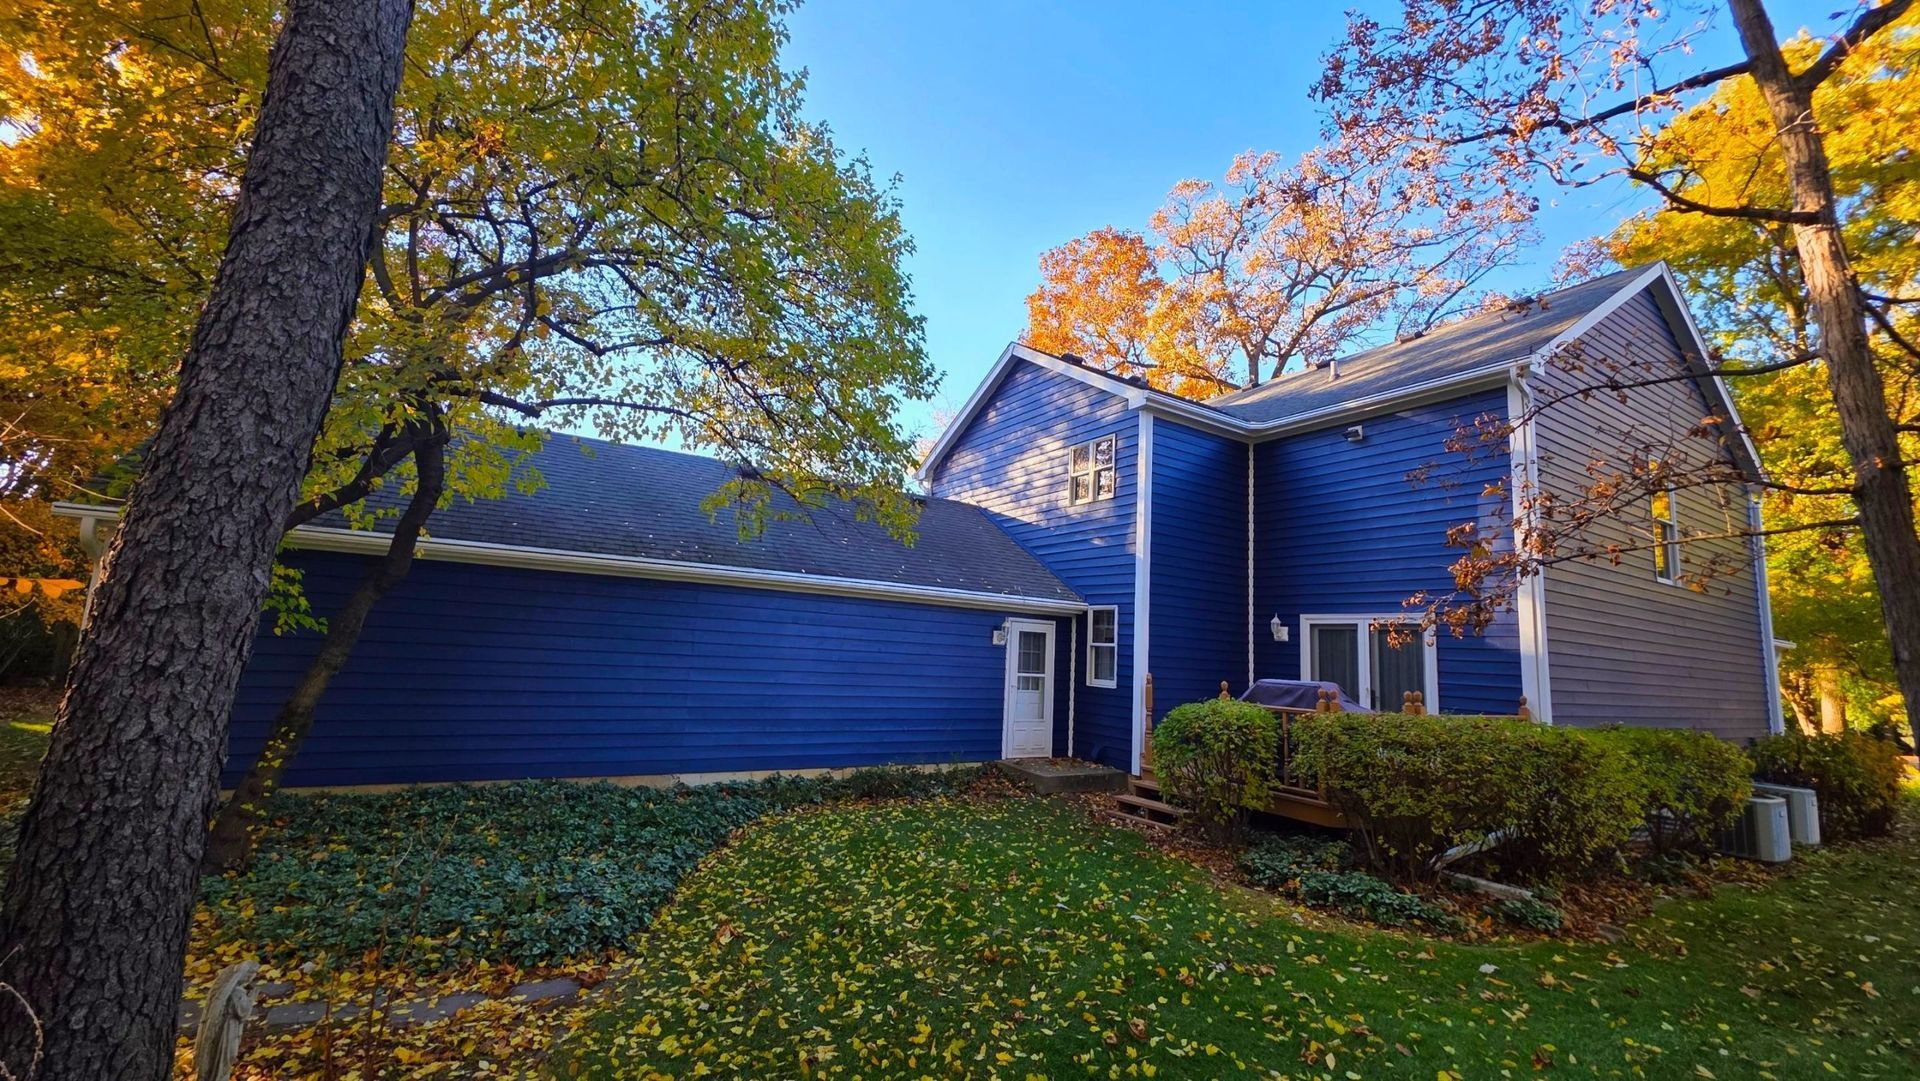
Then the masking comes off, fixtures go back up, and the site gets cleaned. Homeowners sometimes mention this part in reviews more than the coating itself. One wrote that the crew "even removed and reinstalled all our cafe lighting."
The last step is a final inspection. You walk the house with the crew chief and point out anything you want looked at before the job is signed off. That's also when the 25-year transferable warranty paperwork comes into play.
What This Means When You're Comparing Quotes
Two estimates for the same house can look far apart, and a lot of the gap lives in these steps. When you're comparing, ask each contractor:
- What exactly is included in prep, and how is chalk removal checked?
- What caulk do you use?
- What primer goes on my siding, and what's the coverage rate on the finish?
- Who does the final walkthrough with me?
You can read the full step list on our application process page. And if you'd like someone to walk your home and explain what your job would involve, we're happy to.
(630) 984-4440 | Request a free estimate online